Step 3 Web Server
Table of contents
- Step 3 Web Server
- Task 3.1 Serve the Radial Lines Drawing
- Task 3.2 Serve Drawing with Parameters
- Task 3.3 Serve Drawing with Optional Parameters
What is Package?
In the previous step, we introduced modules. These are files with Python code that we can import and use in our code. While modules are files, packages are folders hierarchically structuring modules. You can install packages from other developers so that your code can rely on their code. Packages opens up whole new horizons: you are not coding everything by yourselves but reusing functions made available by others. We say that your code has ‘dependencies’, i.e. it depends on packages from other developers.
‘Installing a package’ means downloading a folder with files containing functions (e.g. packages and modules). Once installed, you can use these functions in your code the same way you use your modules. Each package can rely on its dependencies, so the installation becomes quickly complicated. No worries. Package managers are here to handle this process for us.
What is a Web Server?
We want to move beyond the Terminal inputs and outputs in this assignment. The code’s result will appear on a web page from this step.
When you use your web browser to open a web page, you request content from computers on the network. These computers listen for requests and respond with the requested content. We say that ‘they serve content on to clients’ such as a web browser. We describe here the role of a webserver.
Serving the output of our code on a webpage has many advantages for designers. Software is increasingly accessible as web applications, and many devices can display web pages. These make web pages an appropriate medium for prototyping, even though the final product or service might rely on different technologies.
What is an HTTP route?
Then, we have the definition of an HTTP route. It means that we connect the URL of the web page (i.e. https://tudelft.nl/io) to a function in the Python code. For instance, on the TU Delft website, we reach the IO Faculty web page with the route /io. To connect an HTTP route to our code, we need the following elements:
HTTP_routeThe ‘web page’ we want to access from the web browser such as/iofunctionThe definition of a Python function to call when a client requests theHTTP_routeresponseThe content to send to the client in response to the request
Serve web page Algorithm
1
2
3
4
Listen on [HTTP_route]
When receiving a request on [HTTP_route];
Call [function];
Return [response] to the client
Note the ‘when’, indicating that the webserver continuously listen and call the function for each new request. In Python, this algorithm involves complicated tasks such as listening on the network, managing requests from web clients and sending back a response on the network. However, we can install a package that takes care of all these tasks. In this assignment, we use the package Flask for this purpose.
Serve web page Python Syntax (Flask)
1
2
3
4
5
6
7
8
9
10
# Create a webserver object and keep track of it in the variable server
server = Flask('My server name')
# Define an HTTP route /io
@server.route('/io')
# Define the function 'welcome_to_io()' and connect it to the route /io
def welcome_to_io()
    # Return a message 'Welcome to IO!' to the client
    return "Welcome to IO!"
# Start the webserver
server.run('0.0.0.0')
Note the at sign @ in front of ‘server’. It is a decorator. There is no need to understand this mechanism at this stage. However, remember that it allows connecting the HTTP route to the following function definition. Thus, both definitions (route and function) must be next to each other, without any line of code in between.
The web server starts with the argument 0.0.0.0. It allows the webserver to be accessible from the network.
Task 3.1 Serve the Radial Lines Drawing
We have all the elements to serve our radial lines drawing on a web page. However, we first need to install the package Flask in the project.
On the left panel of Replit, click on the third icon (box icon). Type in Flack in the search bar, select the first result and click the plus sign + to install Flask in your project. You notice outputs in the Terminal. They reflect the process of downloading all necessary dependencies for Flask.
Click on the first icon (file icon) on the left panel. It brings you back to the list of files in your project. The package manager created two new files (poetry.lock and pyproject.toml), which keep track of the dependencies.
Let’s define the algorithm that serves the radial lines drawing.
Serving Radial Lines Algorithm
1
2
3
4
5
6
7
8
9
10
11
12
13
14
Import relevant functions from the module 'drawing'
Import the object Flask from the flask module

Create constant COLOUR for the colour of the drawing
Create constant PATH for where to save the SVG drawing

Create a webserver object called 'Generative Art' and keep track of it in the variable server

Define an HTTP route /radial

Define the function 'serve_radial_lines()' and connect it to the route /radial
Make drawing radial lines and returns it to the client.

Start the webserver
In this algorithm, we already know:
- how to import elements from modules
- how to create constants
- how to make drawing radial lines
- how to serve a web page
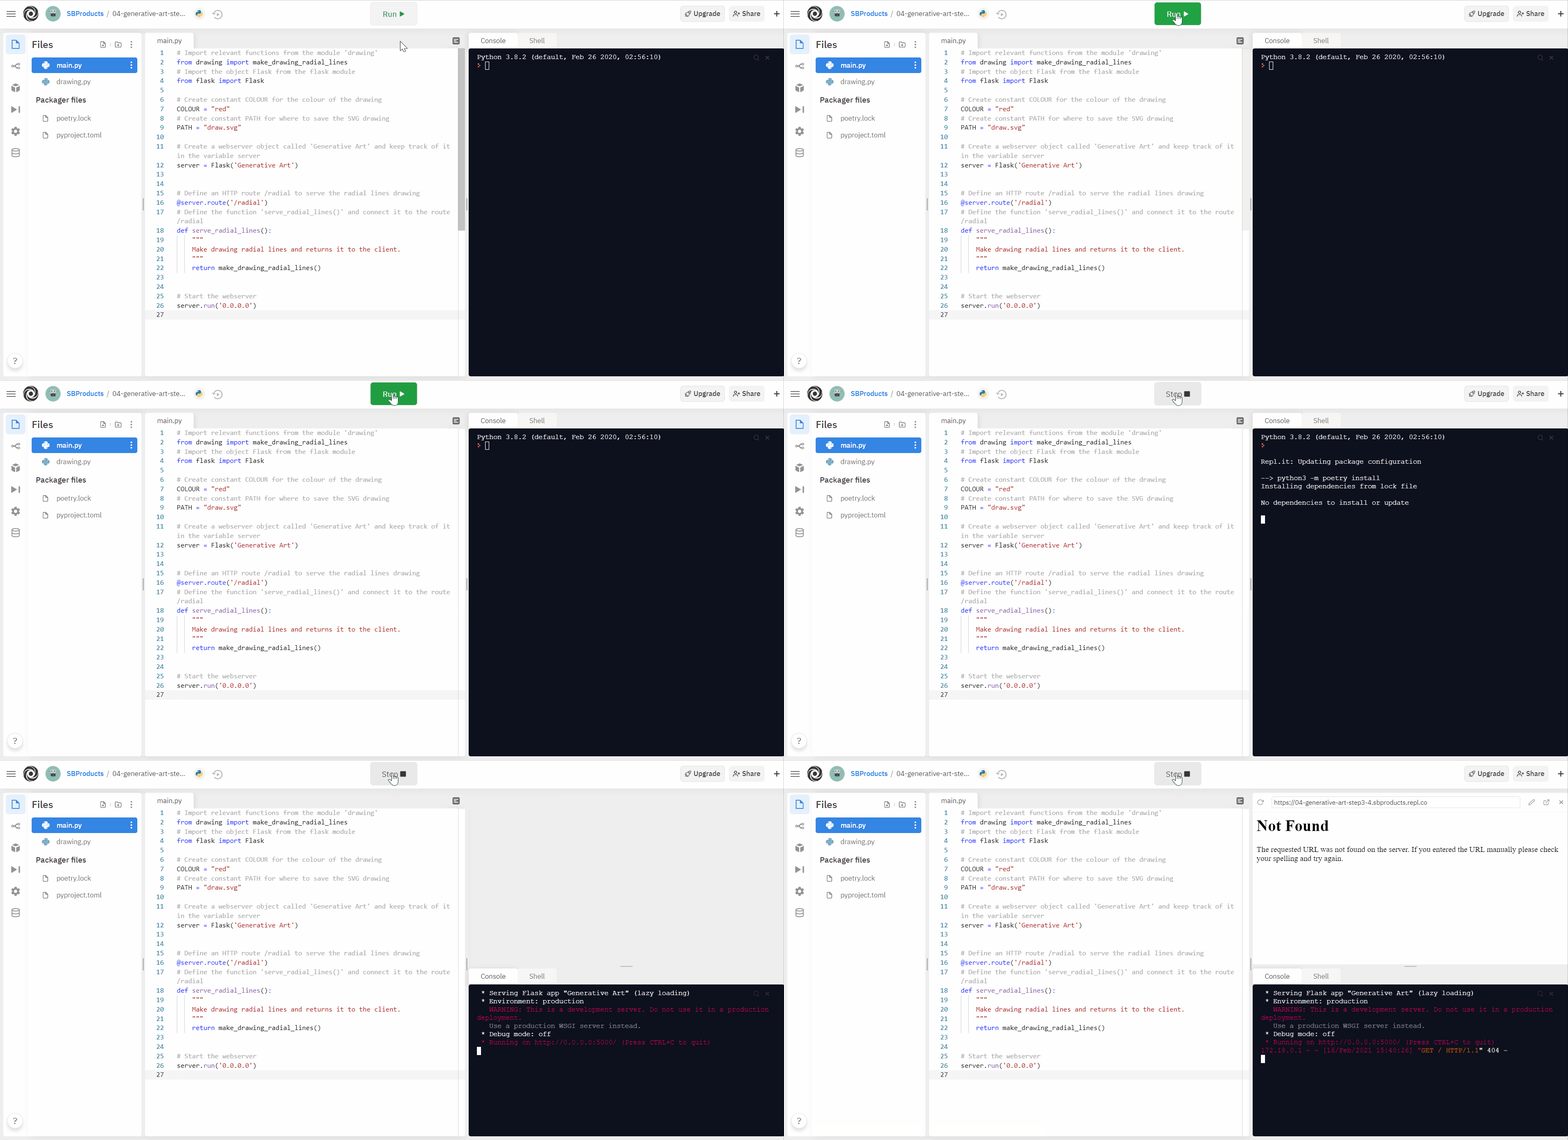
Write the Python code for the ‘Serving Radial Lines’ algorithm into main.py and execute it.
The Terminal shows a couple of information about the webserver, telling us that it is running…. Replit should open a web page above the Terminal.

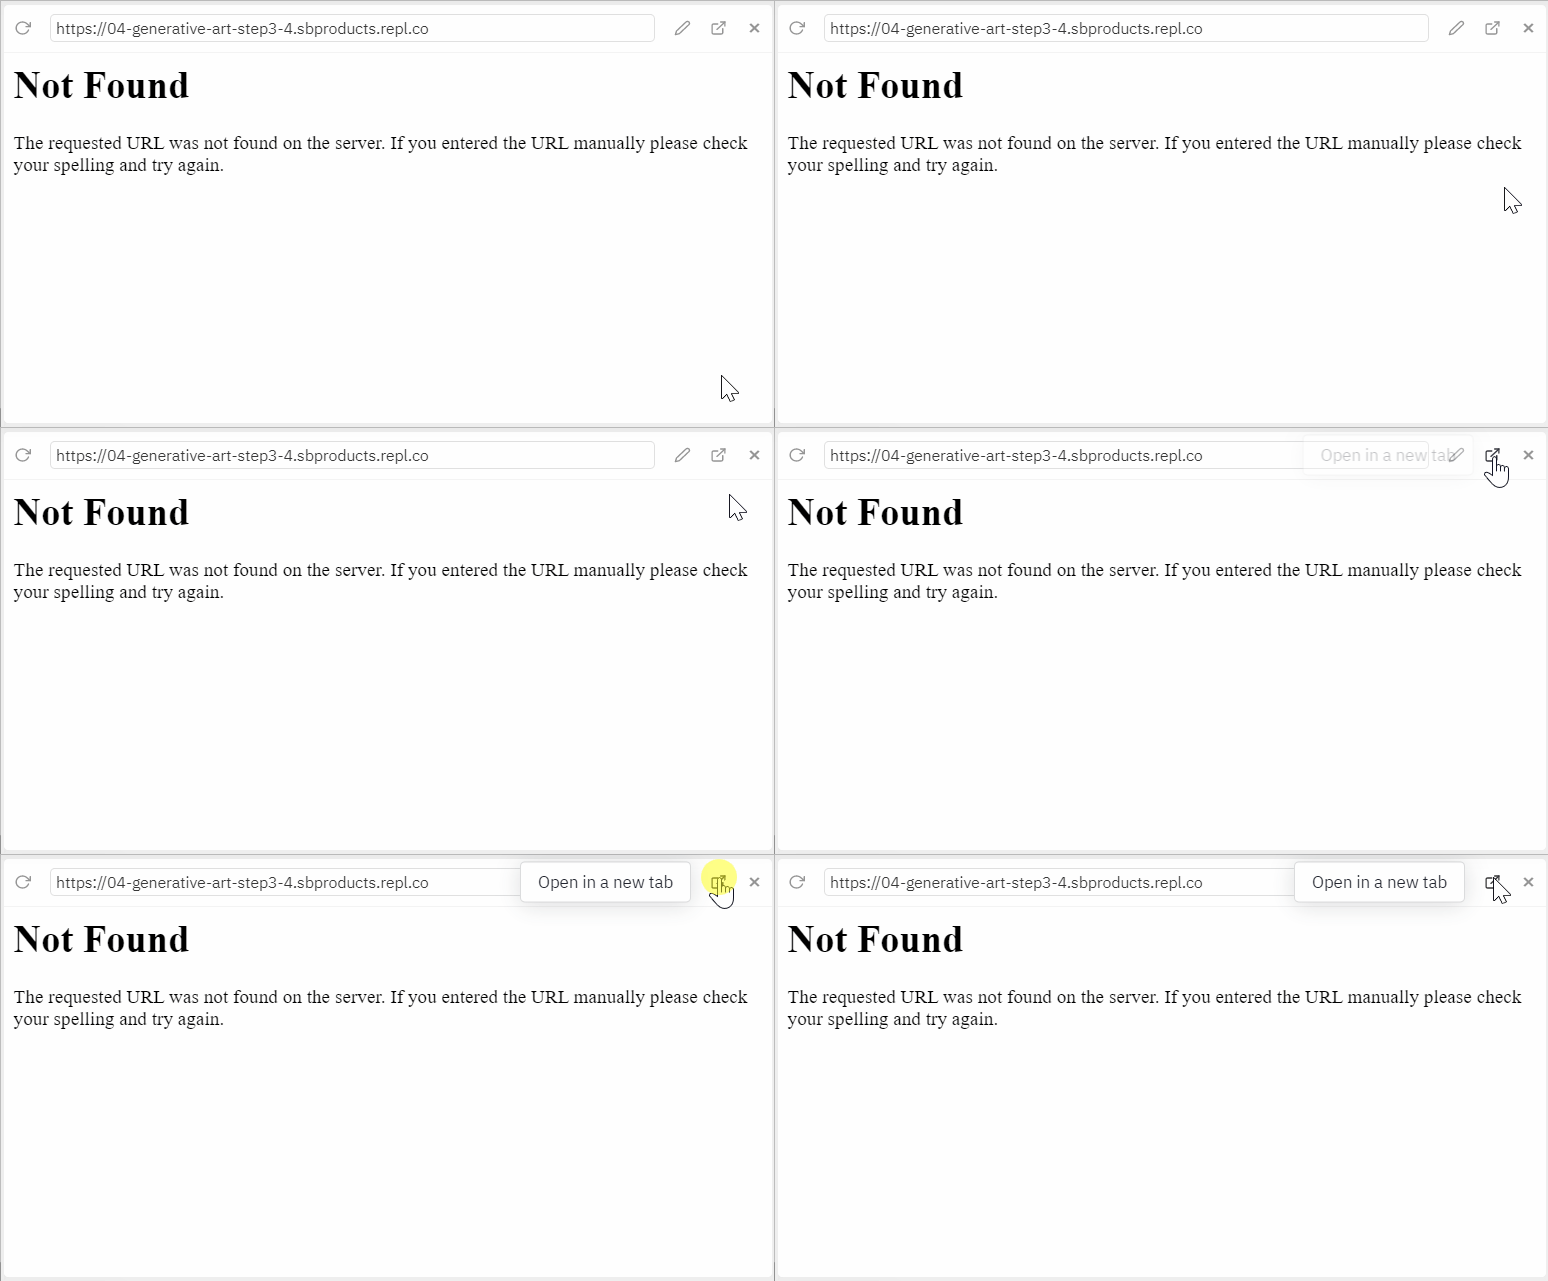
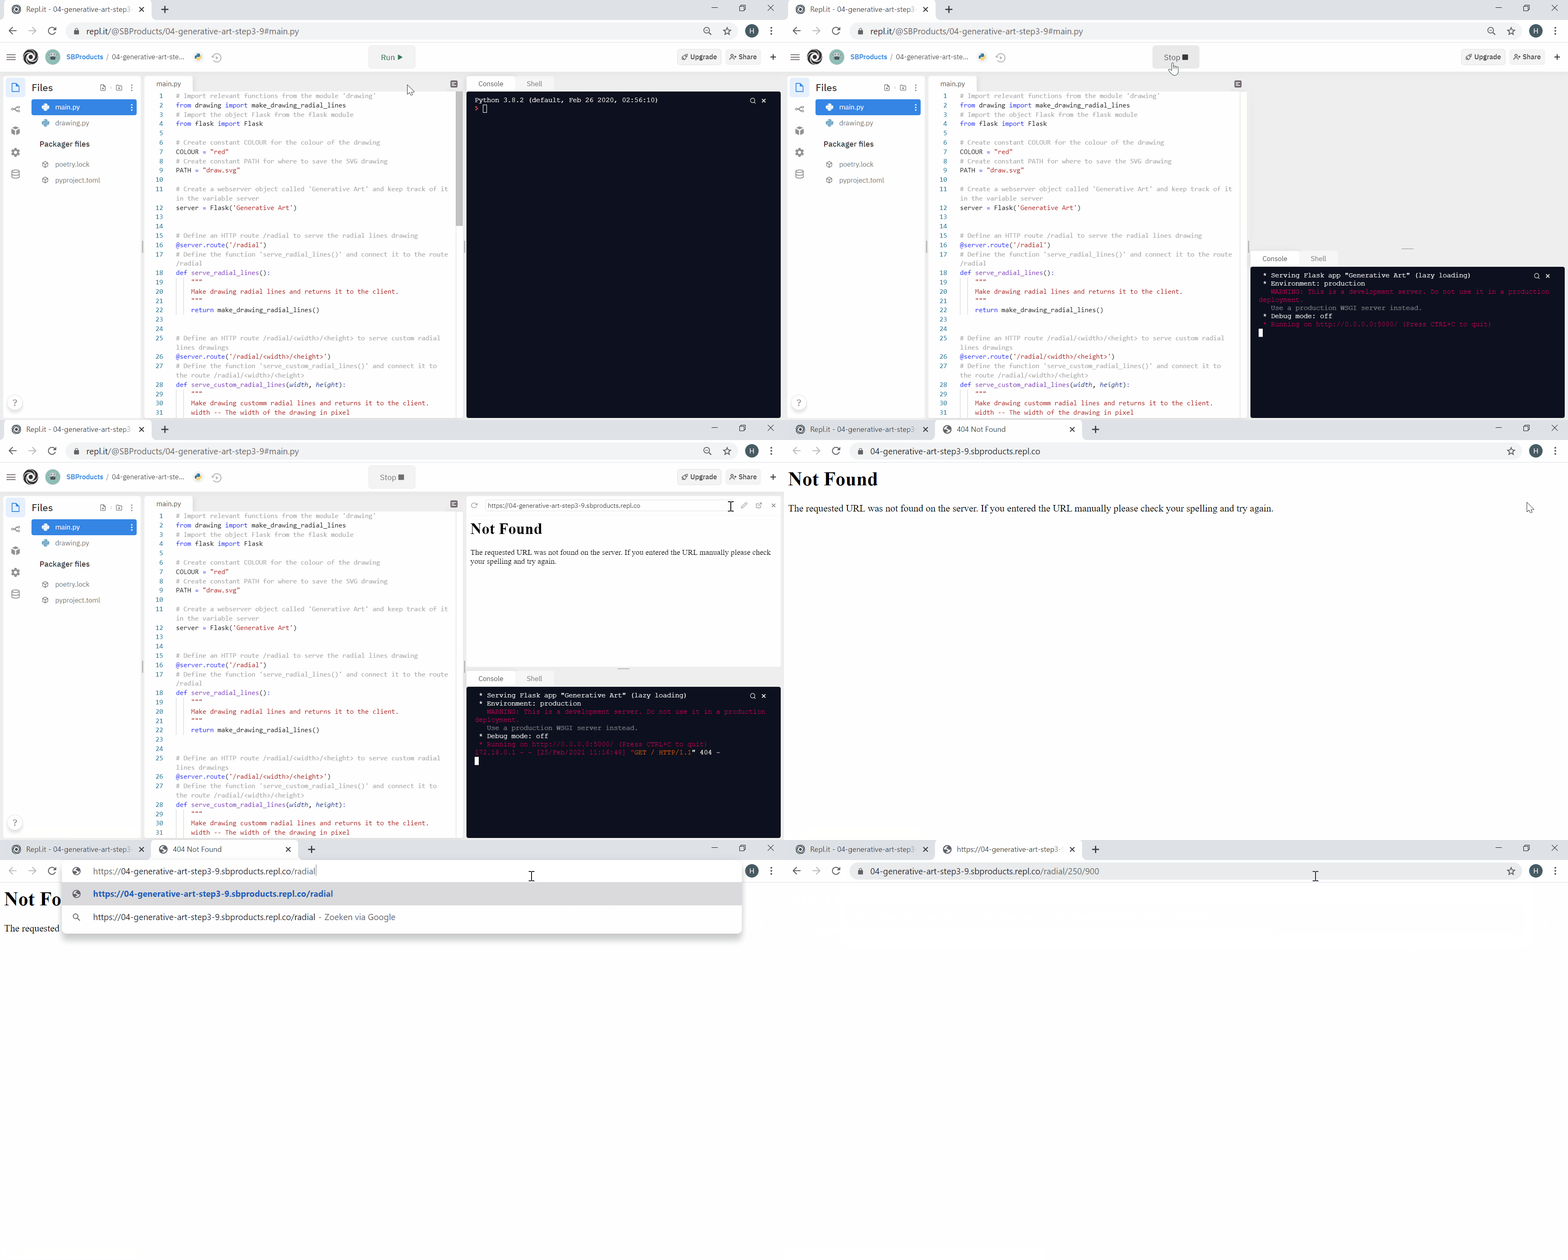
Ah! The page is not found! Indeed, by default, the requested HTTP route is ‘/’, and the Python code only defines the route ‘/radial’. Click on the ‘extend’ icon on the top-right corner of the web page to open the page in a new tab.

You can now edit the URL to add ‘/radial’

Task 3.2 Serve Drawing with Parameters
The next step is to make the HTTP route reusable for more requests. We want to map information from the URL into arguments for the function make_drawing_radial_lines(). Flask has a convenient way to do the mapping. We can specify the parameters in the URL, wrapped between lower than < and greater than > signs. Then, we add these parameters to the connected function.
Serving Custom Radial Lines Algorithm
1
2
3
4
Define an HTTP route /radial/<width>/<height> to serve custom radial lines drawings
Define the function 'serve_custom_radial_lines()' and connect it to the route /radial/<width>/<height>
Convert parameters width and height into integers
Make drawing radial lines with width and height, and return the result
The ‘Custom Radial Lines’ algorithm receives the request, for example, on the route /radial/200/100. In this case, 200 and 100 are the arguments for the parameters width and height. Flask automatically map them to the function serve_custom_radial_lines(width, height).
Write the code for the route /radial/<width>/<height> connected to serve_custom_radial_lines().
Execute the code and load the web page with the route, for example, /radial/100/200.

Oh, white page, nothing happens, no error!
Let’s investigate. We call the function make_drawing_radial_lines(width, height), using the argument received from the URL to make the radial lines drawing. However, if we look into the file drawing.py, we defined this function as follows:
1
2
3
4
def make_drawing_radial_lines(colour="black",
                              width=100,
                              height=100,
                              granularity=5):
It starts with the parameter colour, and then the width and height. Thus, we currently call this function providing the argument width to the parameter colour and the argument height to the parameter width. Python does not raise an error because all parameters have default values. However, the colour of value 100 does not represent any colour: nothing appears on the screen.
There are three optionsto solve this issue:
- add the colour parameter in the URL so that we can provide this argument, i.e.
/radial/<colour>/<width>/<height> - add a default colour when we call the function, i.e.
make_drawing_radial_lines("red", width, height) - specify arguments with keywords
Keywords arguments? Indeed, we can explicitly specify the parameter to which each argument refer. This approach removes the need for a strict position of each argument. The call would look as follows:
1
make_drawing_radial_lines(width=width, height=height)
Note: the parameter is on the left (as specified in the function definition), and the argument is on the right (as received from the URL).
Update the code and execute the code. You should see the radial lines drawing with the specified width and height when refreshing the web page.
Task 3.3 Serve Drawing with Optional Parameters
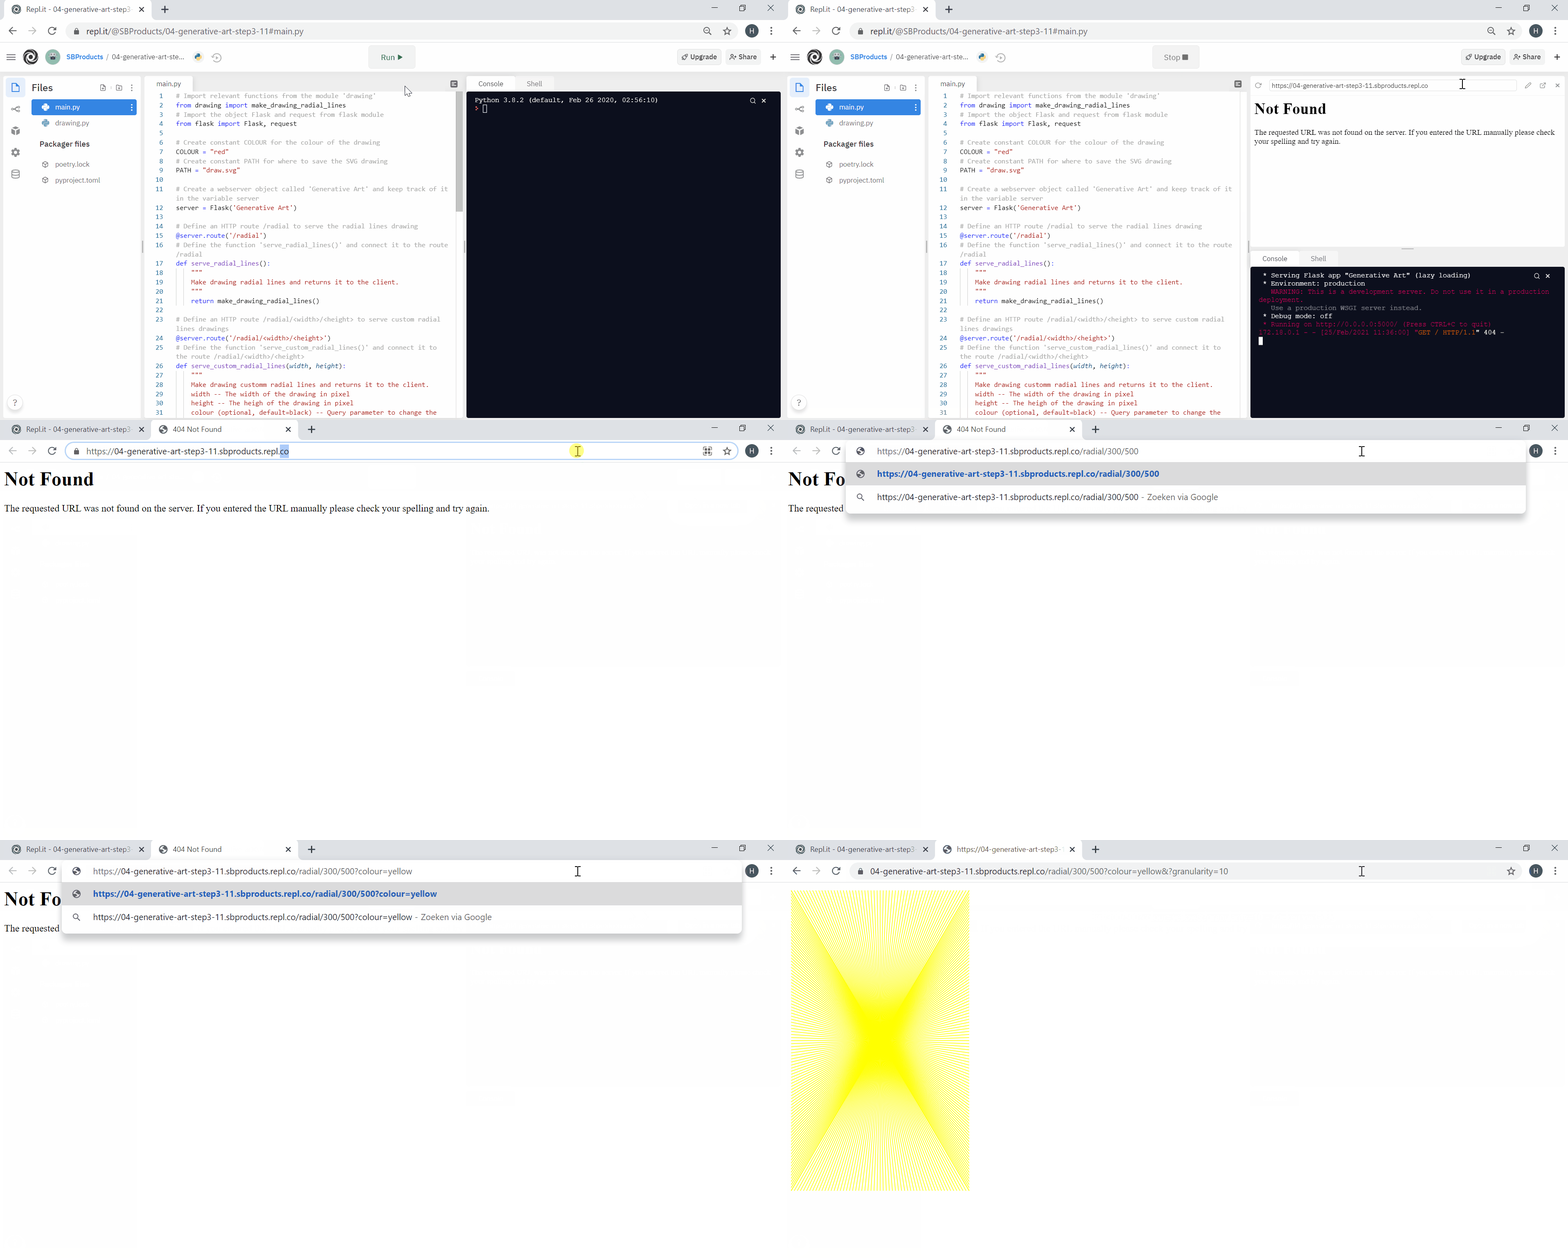
We avoided specifying the colour for each HTTP request. However, it would be convenient to change the colour of the drawing. Therefore, to provide an optional argument in the URL, we can use the following structure:
1
/radial/<width>/<height>?colour=yellow&granularity=10
The optional arguments start with a question mark ?. Then, we separate additional arguments with an ampersand &. Finally, we provide each argument with its name and its value connected by an equal sign =.
Flask enables extracting these optional arguments with the request module in Python. So let’s import request from Flask at the top of main.py.
1
2
# Import the object Flask and request from flask module
from flask import Flask, request
To extract an optional argument we can call the function request.args.get(). For the argument ‘colour’, the call would look as follows:
1
2
# Check for optional parameter colour as string, otherwise set the colour as "black"
colour = request.args.get('colour', default = "black", type = str)
Write the code to extract the colour and granularity arguments from the URL and pass them to the function make_drawing_radial_lines().
Execute the code and refresh, then request the web page with the optional arguments.

At this stage, we moved from the Terminal to a web page. It allows rich, graphical interactions and avoids saving results into files to visualise them.