Step 6 Logging
Table of contents
- What is logging
- Task 6.1 Experimenting with Logging
- Task 6.2 Logging Vending Machine
- Task 6.3 Logging into a file
- Task 6.4 Format log messages
In the first assignment, we stressed the importance of Debugging. Access to information about the program’s execution is critical in this process. This step introduces the concept of logging to improve the output algorithm with convenient ways to tune how, where, and when to inform.
What is logging
Logging is a way to communicate information when the code is running. It is a more elaborate version of the Output. In step 4 of the first assignment, we defined the output algorithm as follows:
Output Algorithm
1
Output the text [message]
We used print(message) to ‘tell’ the user in Python syntax. However, it is limited to outputting text to the Terminal. More info would help us determine what the code is doing, what went wrong, and where the unexpected behaviour occurs. And as your code grows, it becomes even harder to keep track of this information (even for a designer’s prototype!).
Suppose we want extra information, such as the incidence time or line number from the code emitting this message. In that case, we need to do that ourselves. Next, when switching from debugging to regular execution, we need to go through the code to remove or comment on each print() statement. Finally, we often want information in a file or somewhere else, instead of showing it in the Terminal. A logger can provide all these functionalities.
In short, logging is an improved version of the output algorithm. With proper logging, we can create code that is easier to debug and understand.
For a logging algorithm, we need the following elements:
For each output:
messagewhat information to outputtypewhen to output this information
For our program:
levelwhat are we currently interested in (e.g. detailed information for debbuging, error information only)formathow to output the information, in addition to your message (e.g. time, line of code)targetwhere to output the information (e.g. in the Terminal, in a file)
Logging Algorithm
In the logging algorithm, we retrieve the distinction between the elements set for the whole programme and the elements used for each logs.
1
2
3
4
5
For the whole programme,
Set once the [required_level], [format] and [target] of logs

For every log, if [type] greater or equal to [level]
then write [message] as [format] to [target]
Logging Python Syntax
1
2
3
4
5
6
7
8
# Import the built-in logging module
import logging

# Set once at the top of the file
logging.basicConfig(level=logging.DEBUG)

# For every log
logging.debug("Some debugging information.")
Python has a built-in module for logging. Built-in modules provide functionalities that are typical while programming, such as logging. To use these functionalities in our code, we use the import keyword followed by the built-in module we want to use. Then we can use logging in our programme like a variable.
For instance, we want to set logging options for the whole programme, i.e. for all logs. With the logging module we do so with logging.basicConfig(). In our example, we set the level of log (hat we are interested in) to DEBUG.
Finally, we show a debug message to the user with logging.debug().
Task 6.1 Experimenting with Logging
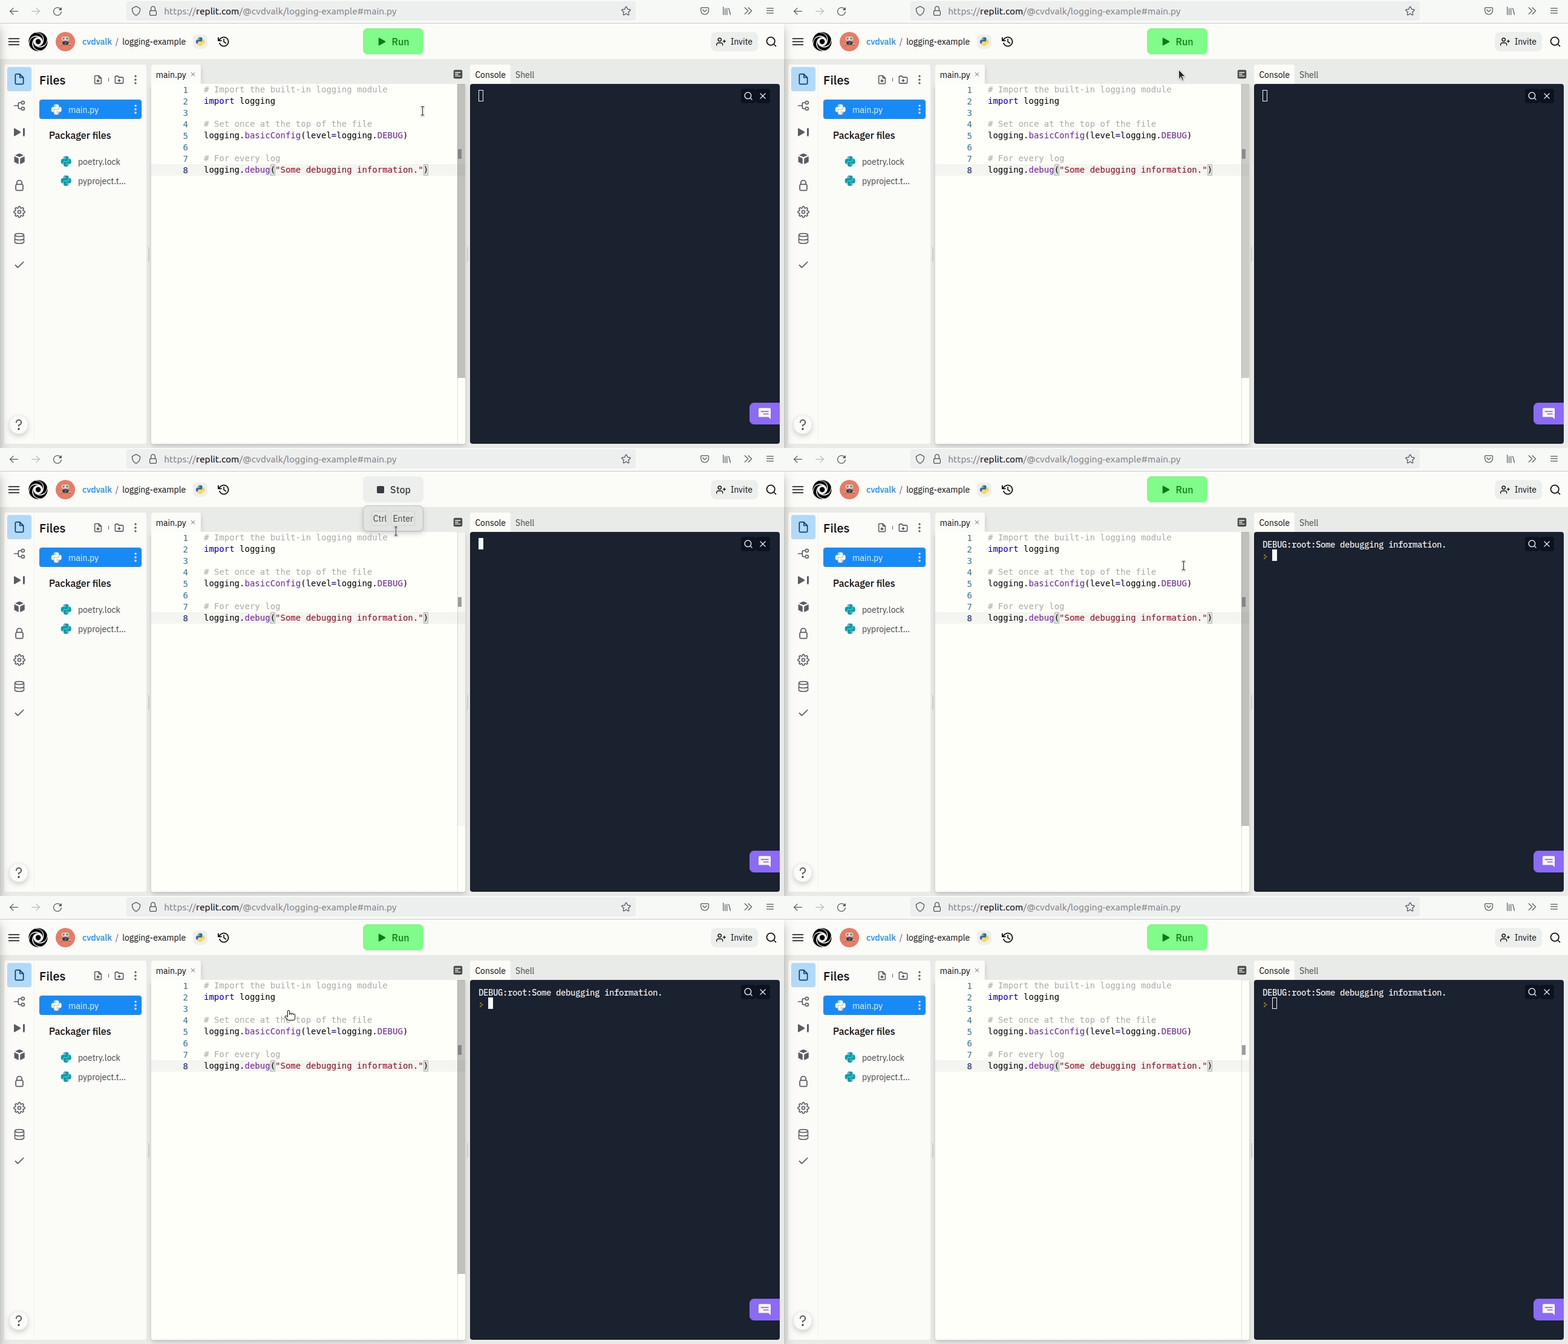
It is a lot of new Python syntax. So let’s create a new Replit project, paste the above lines of Python and see what happens.

The result shows the message ‘Some debugging information.’. Note that it starts with ‘DEBUG:root:’, meaning that it is a log of type ‘DEBUG’ from the root file of our programme (indeed, we only have one file in our programme).
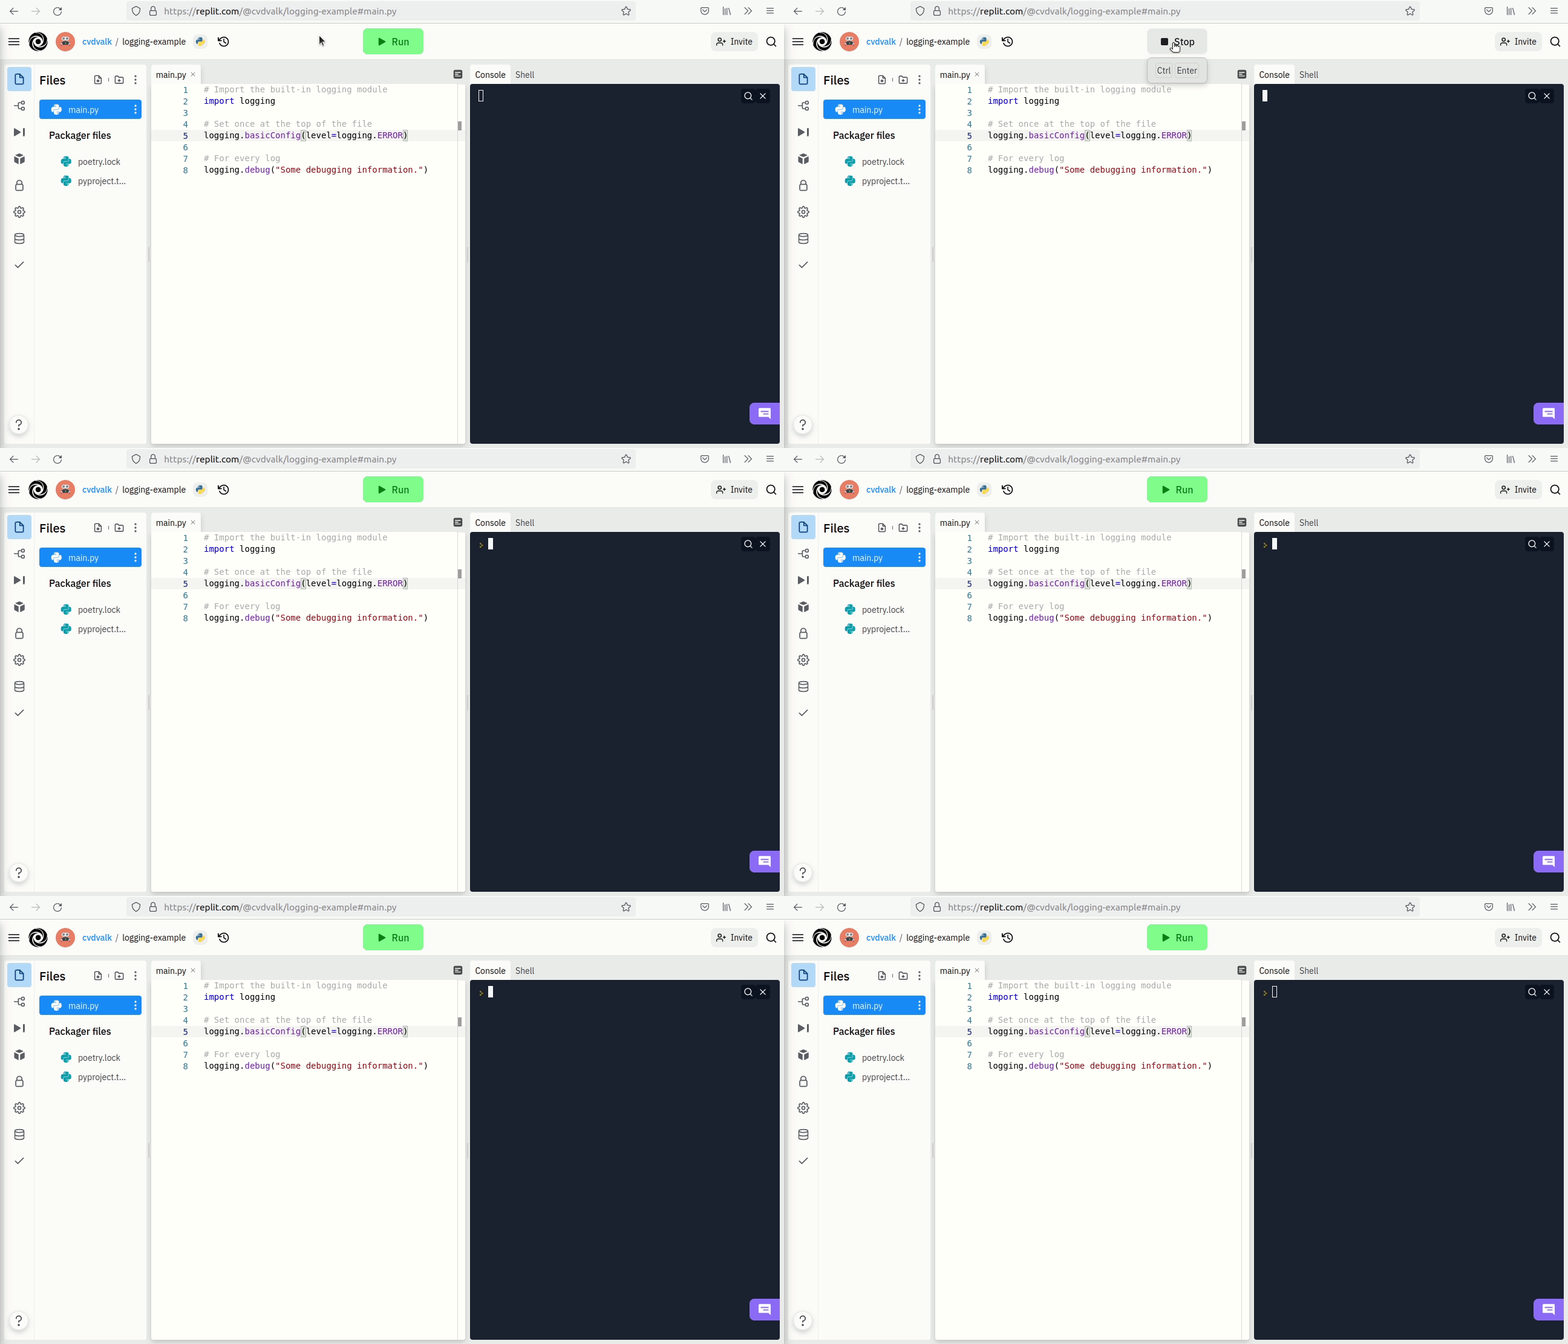
Let’s switch the logging level to ‘ERROR’ by changing the following code.
1
2
3
4
5
6
...

# Set once at the top of the file
logging.basicConfig(level=logging.ERROR)

...
Then, execute the code again.

Now, nothing happens anymore. With this setting, we tell the computer to only show logs of type ERROR or CRITICAL: the computer ignores the log of type DEBUG.
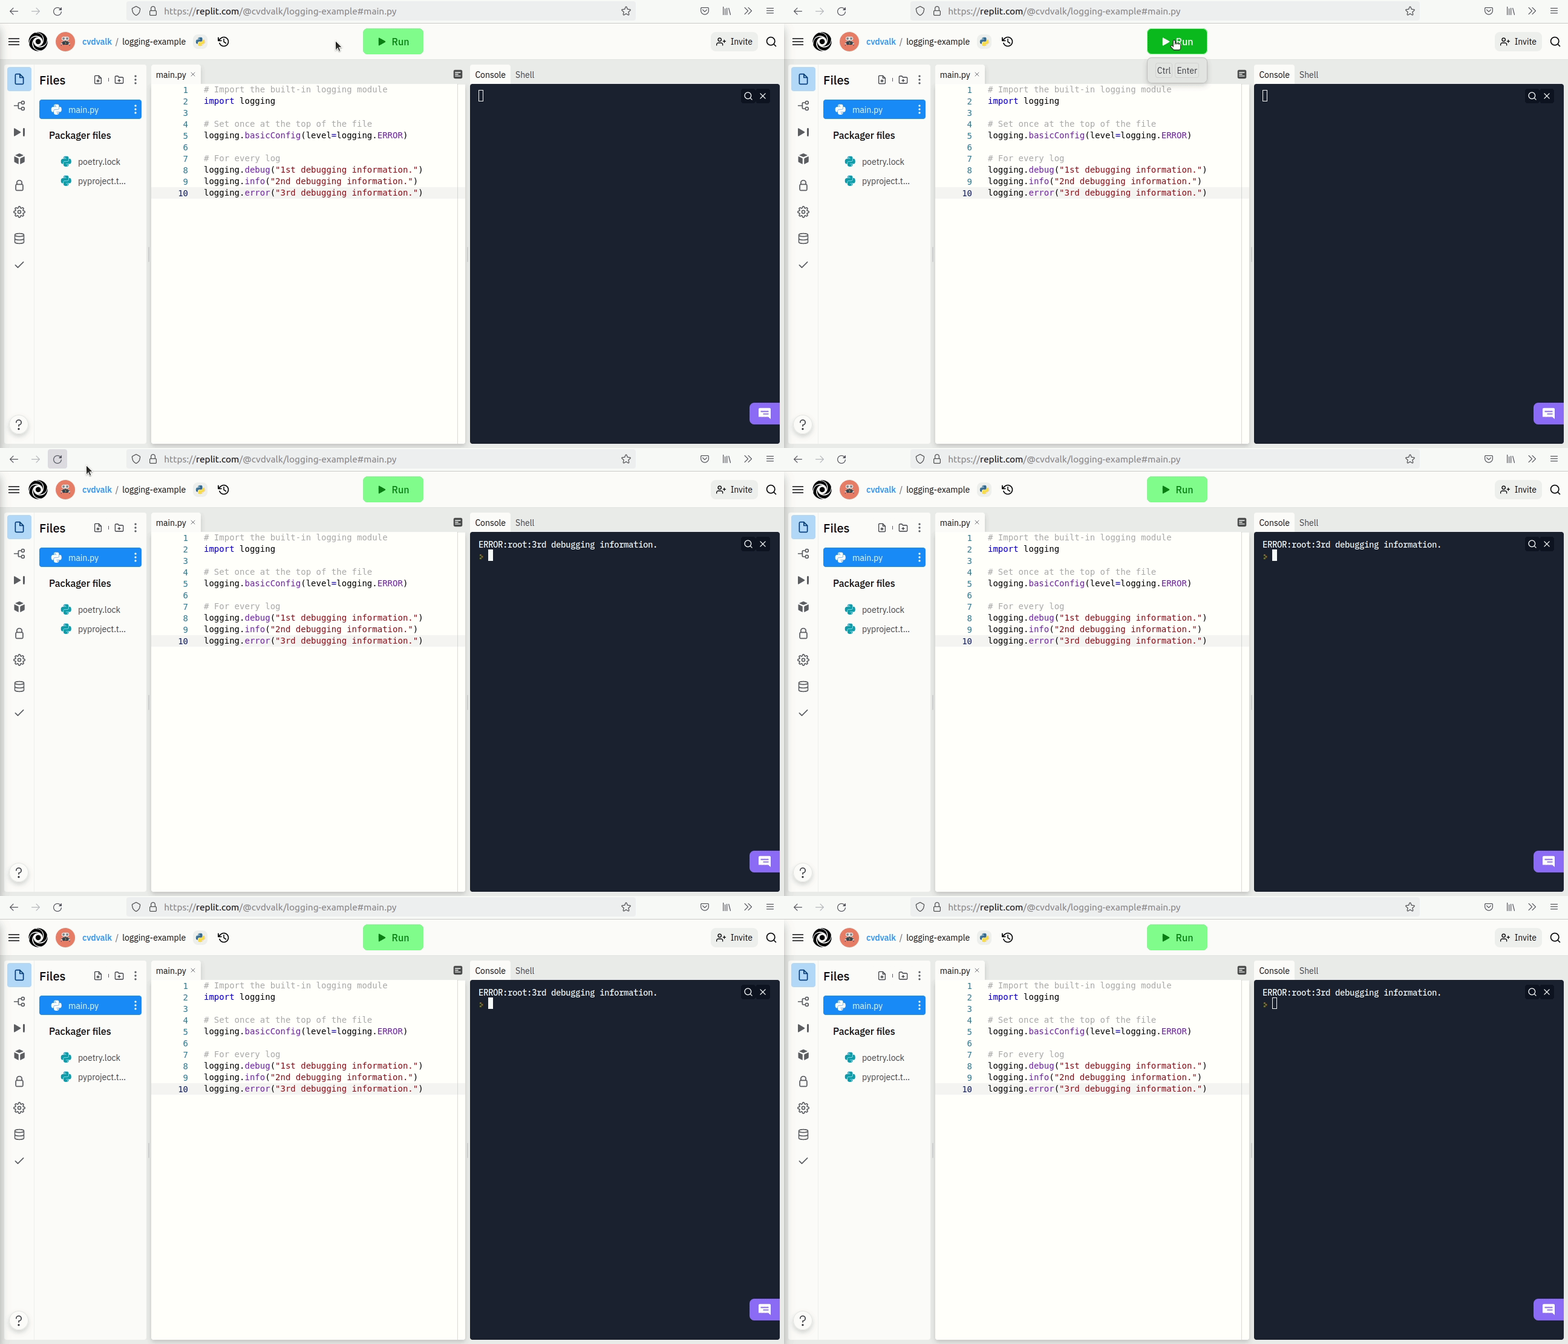
Use info() and error() to Add logs of type INFO and ERROR in the same way we wrote the debug() log, then execute your code again.

This time, we can see the error message but not the two others.
In Python, the logging levels are DEBUG, INFO, WARNING, ERROR, and CRITICAL. With DEBUG being the lowest level and CRITICAL the highest level. Experiment with the level of logs. You will notice that logs appear if they are of greater or equal importance as the log level.
Task 6.2 Logging Vending Machine
Let’s go back to our vending machine and apply the logs. To do so, you need to import the built-in logging module at the top of your code, followed by the basicConfig() statement with the log level of your choice. Then, finally, transform all print() statements with the appropriate logging equivalent.
Task 6.3 Logging into a file
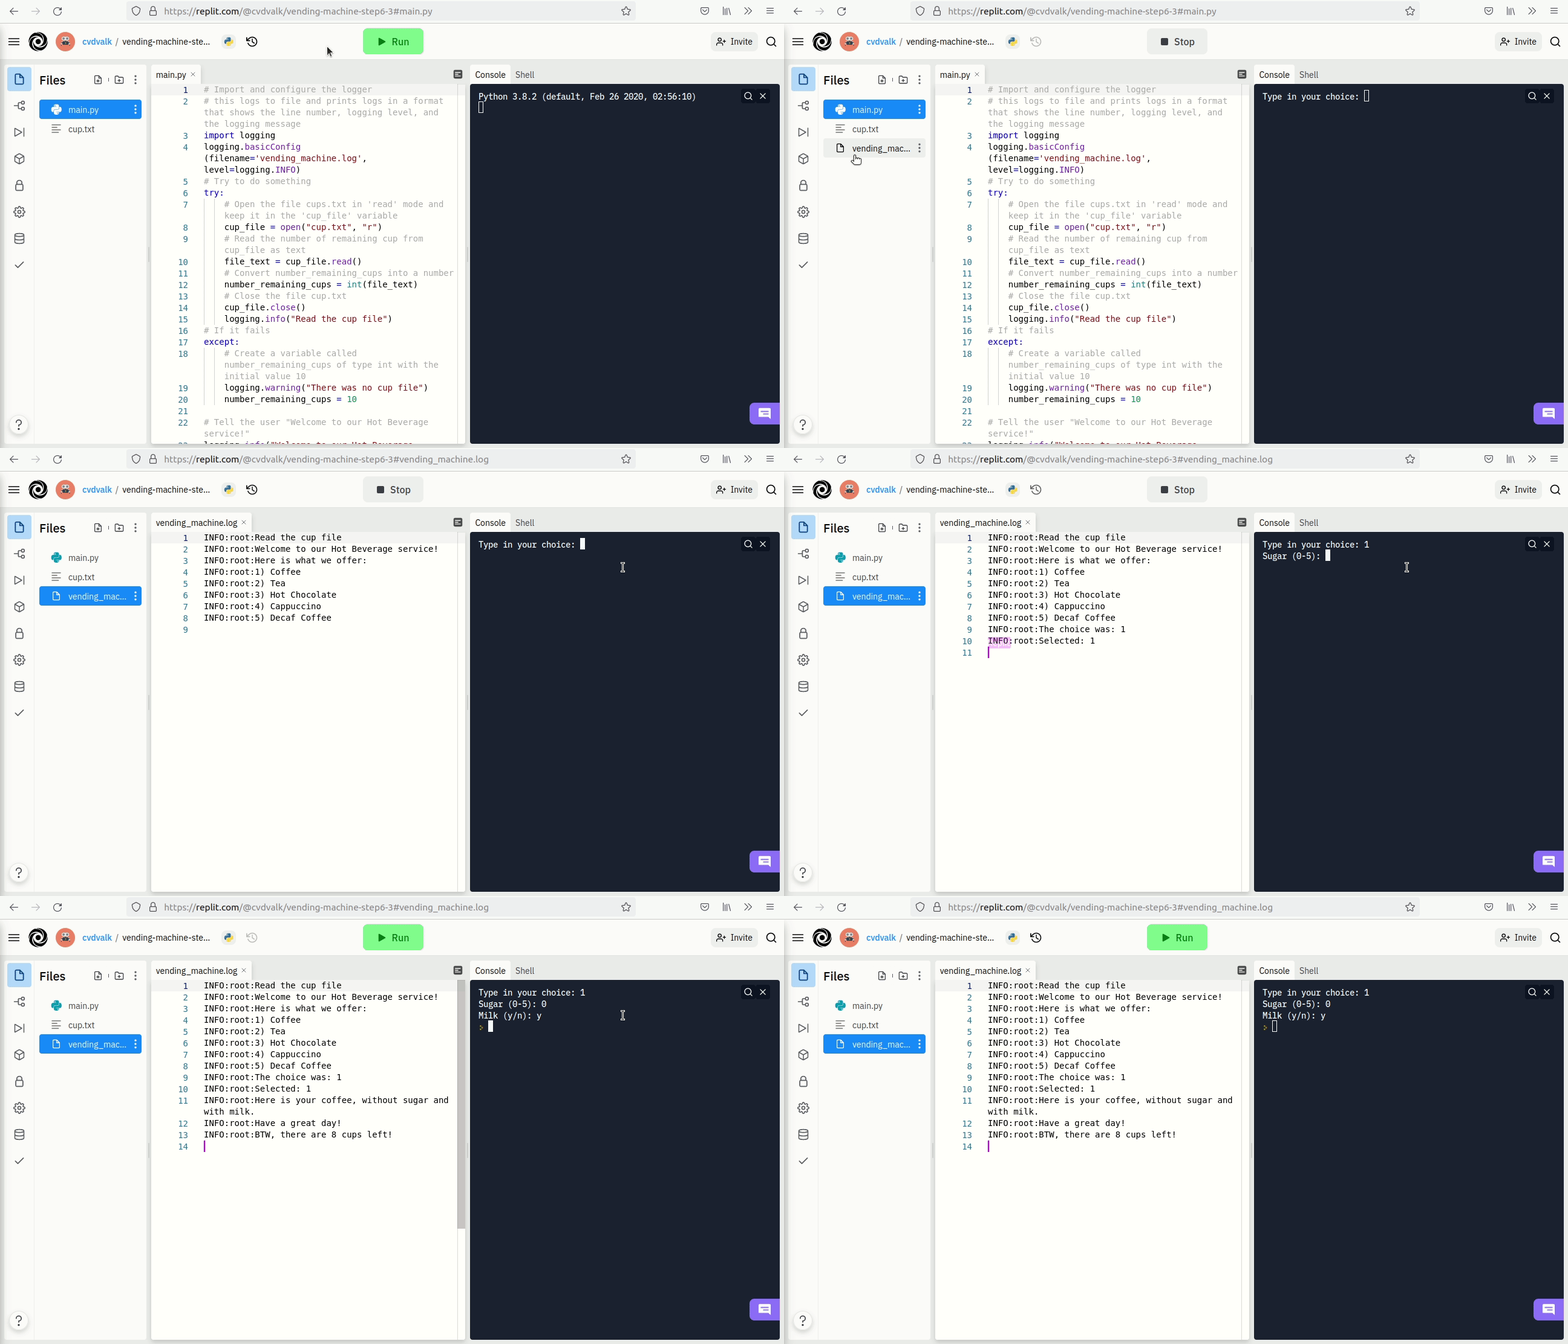
As we introduced the logging algorithm, we mentioned the target element to output the log. By default, the output appears in the Terminal as the print() statement. We can also log into a file, often helpful to keep logs over time. To change the targeted output to a specific file, we update the basicConfig() statement as follows:
1
logging.basicConfig(filename='vending_machine.log', level=logging.DEBUG)
We can see the extra parameter filename to which we assign the value ‘vending_machine.log’: the name of the targeted file.
Execute your programme again with this change. You will notice that nothing appear anymore in the Terminal (apart from input() statements). However, a file ‘vending_machine.log’ appeared in the left panel. This file should contain your logs.

Task 6.4 Format log messages
We can also format the log message to show information differently or other information, as we mentioned in the algorithm with format. It can also be done with the basicConfig() statement by providing the format parameter. We assign a string to this format parameter.
This string can contain some placeholders. The logging module replaces them automatically with the relevant values. Let’s take the following example:
1
2
logging.basicConfig(format='%(lineno)d %(levelname)s:%(message)s',
                    level=logging.DEBUG)
Here, the output format will contain the line number (%(lineno)d), the logger level (%(levelname)s), and the logger message (%(message)s). The logging module automatically replaces these three placeholders by the relevant line number, log level and message for each log.
Everything could fit on one single line, including the format and level parameters. By convention, we write parameters on separated lines when it gets too long.